How To Use Buildpacks To Run Containers
The high demand to deliver software that is both highly available and able to meet customer requests has, in part, led to the adoption of microservice architecture, a software architecture pattern that makes it easier to deploy applications as self-contained entities called containers. These containers are nothing but processes that run as long as the application in them is running. This has made containerization the de facto standard for deploying applications and has brought about the development of several new tools and technologies like Kubernetes and Service Mesh.

Romaric Philogène
December 22, 2021 · 7 min read
As more development teams move towards the microservice architecture, they need a way to continuously build and deploy their container images without worrying too much about issues like configuration, upstream dependency management or caching. This is where buildpacks come in. A buildpack is a program that turns source code into a runnable container image without precisely defining the steps, as in the case of Dockerfiles. Instead, it detects the language and converts the source code into a runnable container image. There are buildpacks for Ruby, Go, Node.js, Java, Python, and more.
In this article, you will learn more about what buildpacks are, their various functions and features, and how to use them to convert a Node.js application into a runnable container image.
#What Are Buildpacks?
Put a buildpack is a program that makes converting source code into a runnable container image. The process of identification and conversion usually goes through two stages:
- The Detect stage determines if the component for building the application is available. The buildpack looks for indicators in your application source code to determine whether or not it needs to be included when building your application. If the indicators are not found, the process is skipped. For example, a Python buildpack may look for a requirements.txt or a setup.py file to pass. Similarly, a Node buildpack may look for a package-lock.json file to pass. Once the detection for indicators has passed for a buildpack during this stage, the buildpack returns a contract of the software requirements and the information needed during the Build stage.
- The Build stage is involved in fulfilling the contract returned during the Detect stage. It contributes to the final app image, running through the contract and performing several operations like setting up the build-time and runtime environment, downloading dependencies and compiling source code if needed, setting appropriate entry points and startup scripts, and more. For example, a Python buildpack may run pip install -r requirements.txt if it finds a requirements.txt file. Similarly, a Node buildpack may run npm install if it detects a package-lock.json file.
#Auto-Detection
One of the core strengths of buildpacks is auto-detection. Buildpacks can build application images directly from the source code without additional instructions. This happens because buildpacks can look for indicators in the source code during the Detect stage and then build a runnable container image from there. This can significantly improve the developer experience and productivity as development teams don't have to worry themselves with tasks like creating Dockerfiles, specifying instructions on how to build images, implementing caching, or concentrating on the security of the application image.
Paketo, one of the buildpack technologies available in the market today, has a dedicated development team tasked with building automated tools that continuously monitor and update upstream dependencies and new features. This removes the burden from users as they don't have to be on top of the new features, bug fixes, and vulnerability alerts for all of these dependencies.
#Builders
A builder is an image that is usually made up of all the components necessary to perform a build. These components include:
- Buildpacks: The program that converts source code to a runnable container image and contains app dependencies.
- Stacks: This provides the buildpacks with build and runtime environments in the form of images. A stack is made up of two images:
undefinedundefined - Lifecycle: This involves the execution of buildpack components, ultimately assembling the resulting artifacts into a final app image. It goes through several stages like, Analyze, Detect, Restore, Build, Export, Create, Launch and Rebase. Learn more about the life cycle here.
#Implementing Buildpacks
Heroku was the originator of the buildpack idea, though other companies like Cloud Foundry and Google have integrated buildpacks into their product offering. In January 2018, Pivotal partnered with Heroku to create the Cloud Native Buildpack, which focuses majorly on embracing modern container standards and practices, such as the OCI image format. The Cloud Native Buildpack specification also takes advantage of the latest capabilities of the container standards and practices. The project was accepted into CNCF later that year in October 2018.
In this tutorial, you will implement a buildpack for a Node.js application using Paketo Buildpacks, which is a community-driven and open-source project. The Paketo project is backed by the Cloud Foundry Foundation, and the development team is sponsored by VMware. Under the hood, the Paketo Project implements the Cloud Native Buildpacks specification, which aims at building and unifying the buildpack ecosystems with a well-defined contract that incorporates knowledge gained from maintaining production-grade applications that use buildpacks.
#Step 1 - Install Docker
Docker provides the platform to package your application into containers. To install Docker for your operating system, you can follow this guide.
#Step 2 - Install the Pack CLI
The Pack CLI is available on Windows, Mac, and Linux. For Linux users, you can run it as a container. If you are on windows, you will need to download the pack zip file and extract the binary. You can find more information about installation for different platforms here.
Installing the CLI on Mac OS is as simple as running the command below:
brew install buildpacks/tap/pack#Step 3 - Build the Application from Source Code
You can make use of one of the sample Node.js applications available on the Paketo repository or use a custom application you've built to test.
Clone the Node.js application that uses NPM from the Paketo repository code samples and navigate to the NPM folder:
git clone https://github.com/paketo-buildpacks/samples && cd samples/nodejs/npmThen build the application by running the following command:
pack build paketo-demo-app --buildpack gcr.io/paketo-buildpacks/nodejs \
  --builder paketobuildpacks/builder:base
Above, paketo-demo-app is the name that will be given to the image after being built. The --buildpack flag is used to specify the buildpack to use—in this case, Node.js, although there are buildpacks for other languages as well. You can check them all out here. The --builder flag is used to specify the type of builder to use. There are also several types of builders: full, base, and tiny. You can read more about the types of builders here.
#Step 4 - Run the Application
The application listens on port 8080 inside the container. You can run it by mapping it to a port on the host machine with Docker (i.e., port 9999):
docker run -d --name paket-app -p 9999:8080 paketo-demo-appThe -d flag is used for running the container in detached mode, while the -p flag used is for mapping the container port to the host machine.
To test the application, you can run:
curl http://localhost:9999This should return an HTML document:

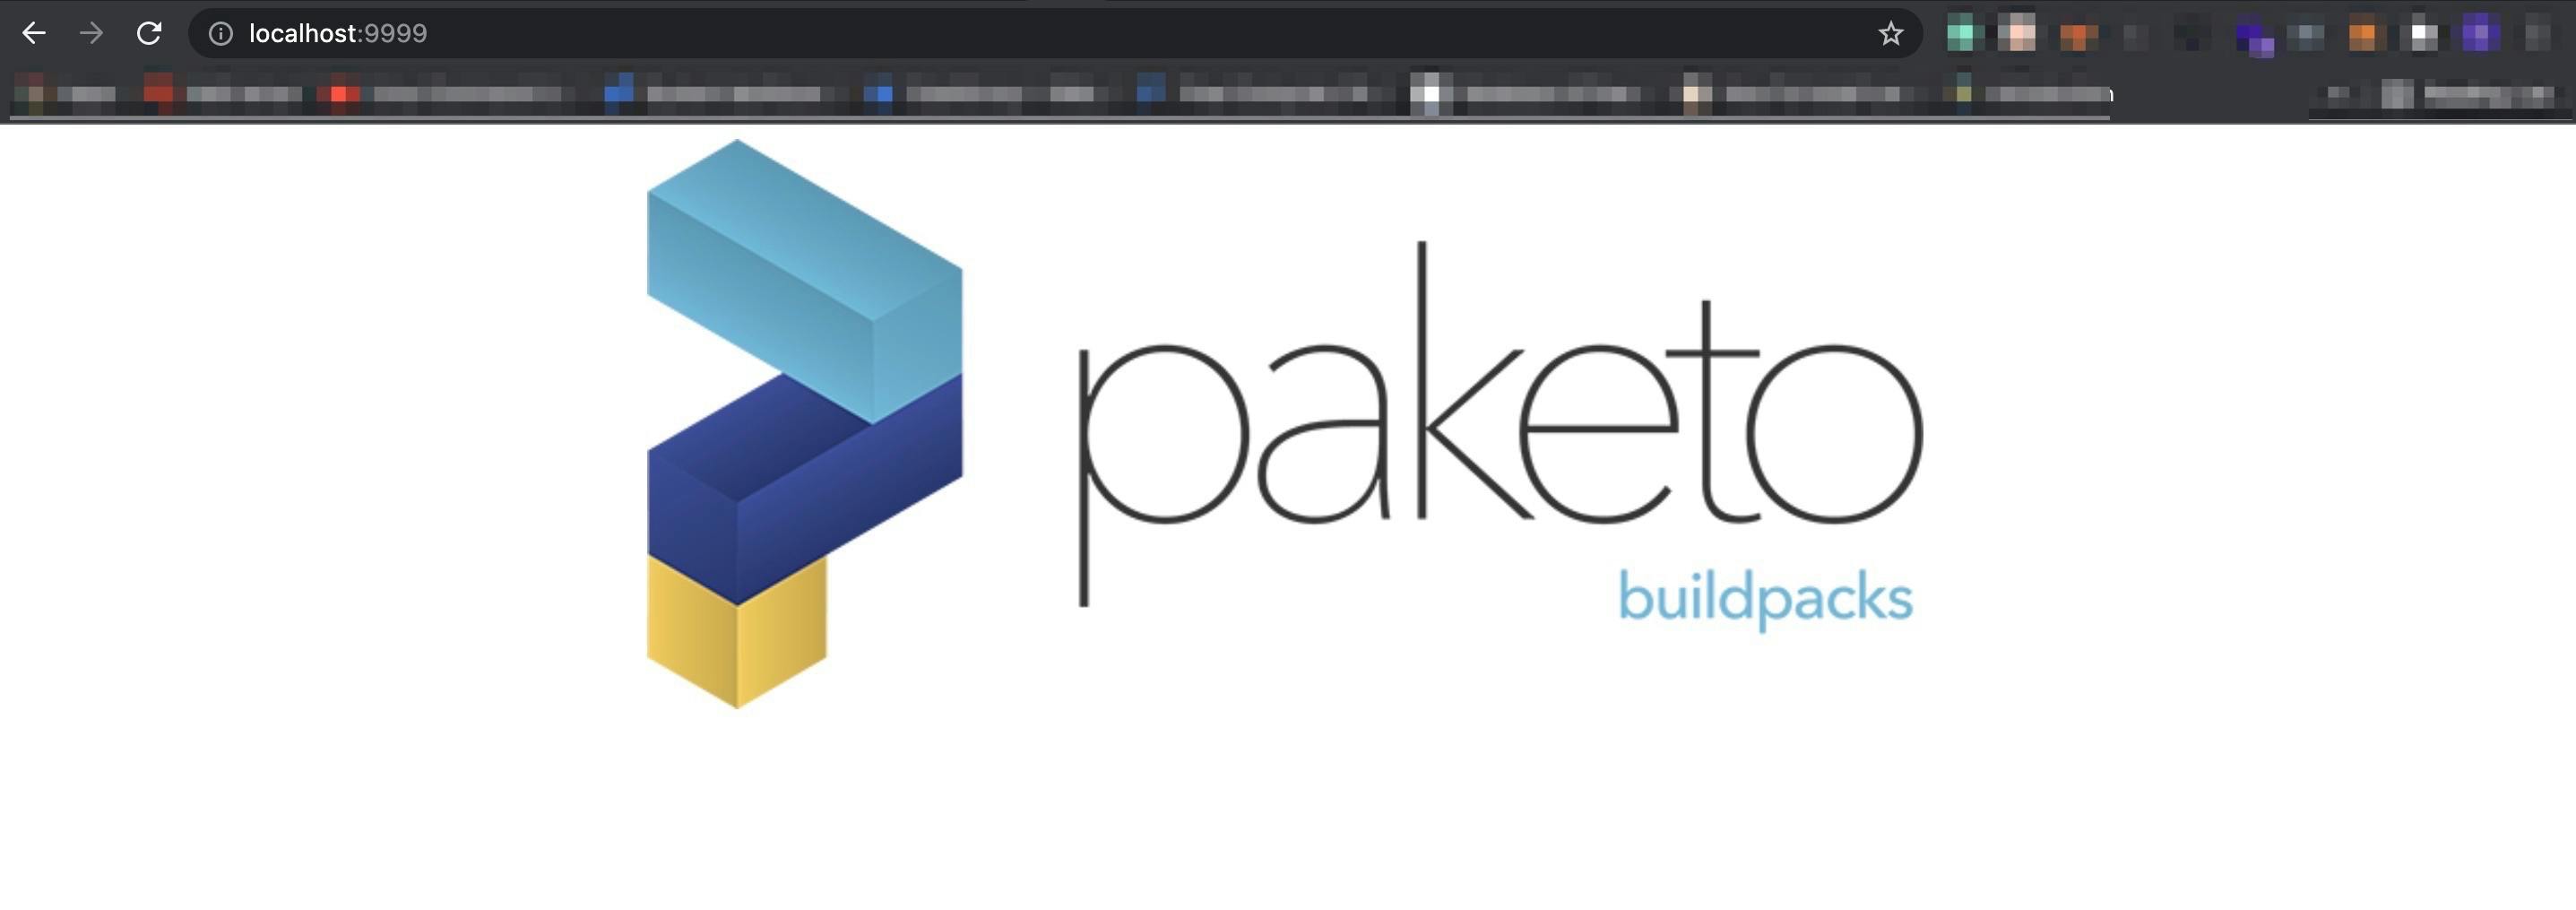
Also, if you navigate to localhost:9999 on your browser, you should see something like this:

#SBOM - Software Bill of Materials
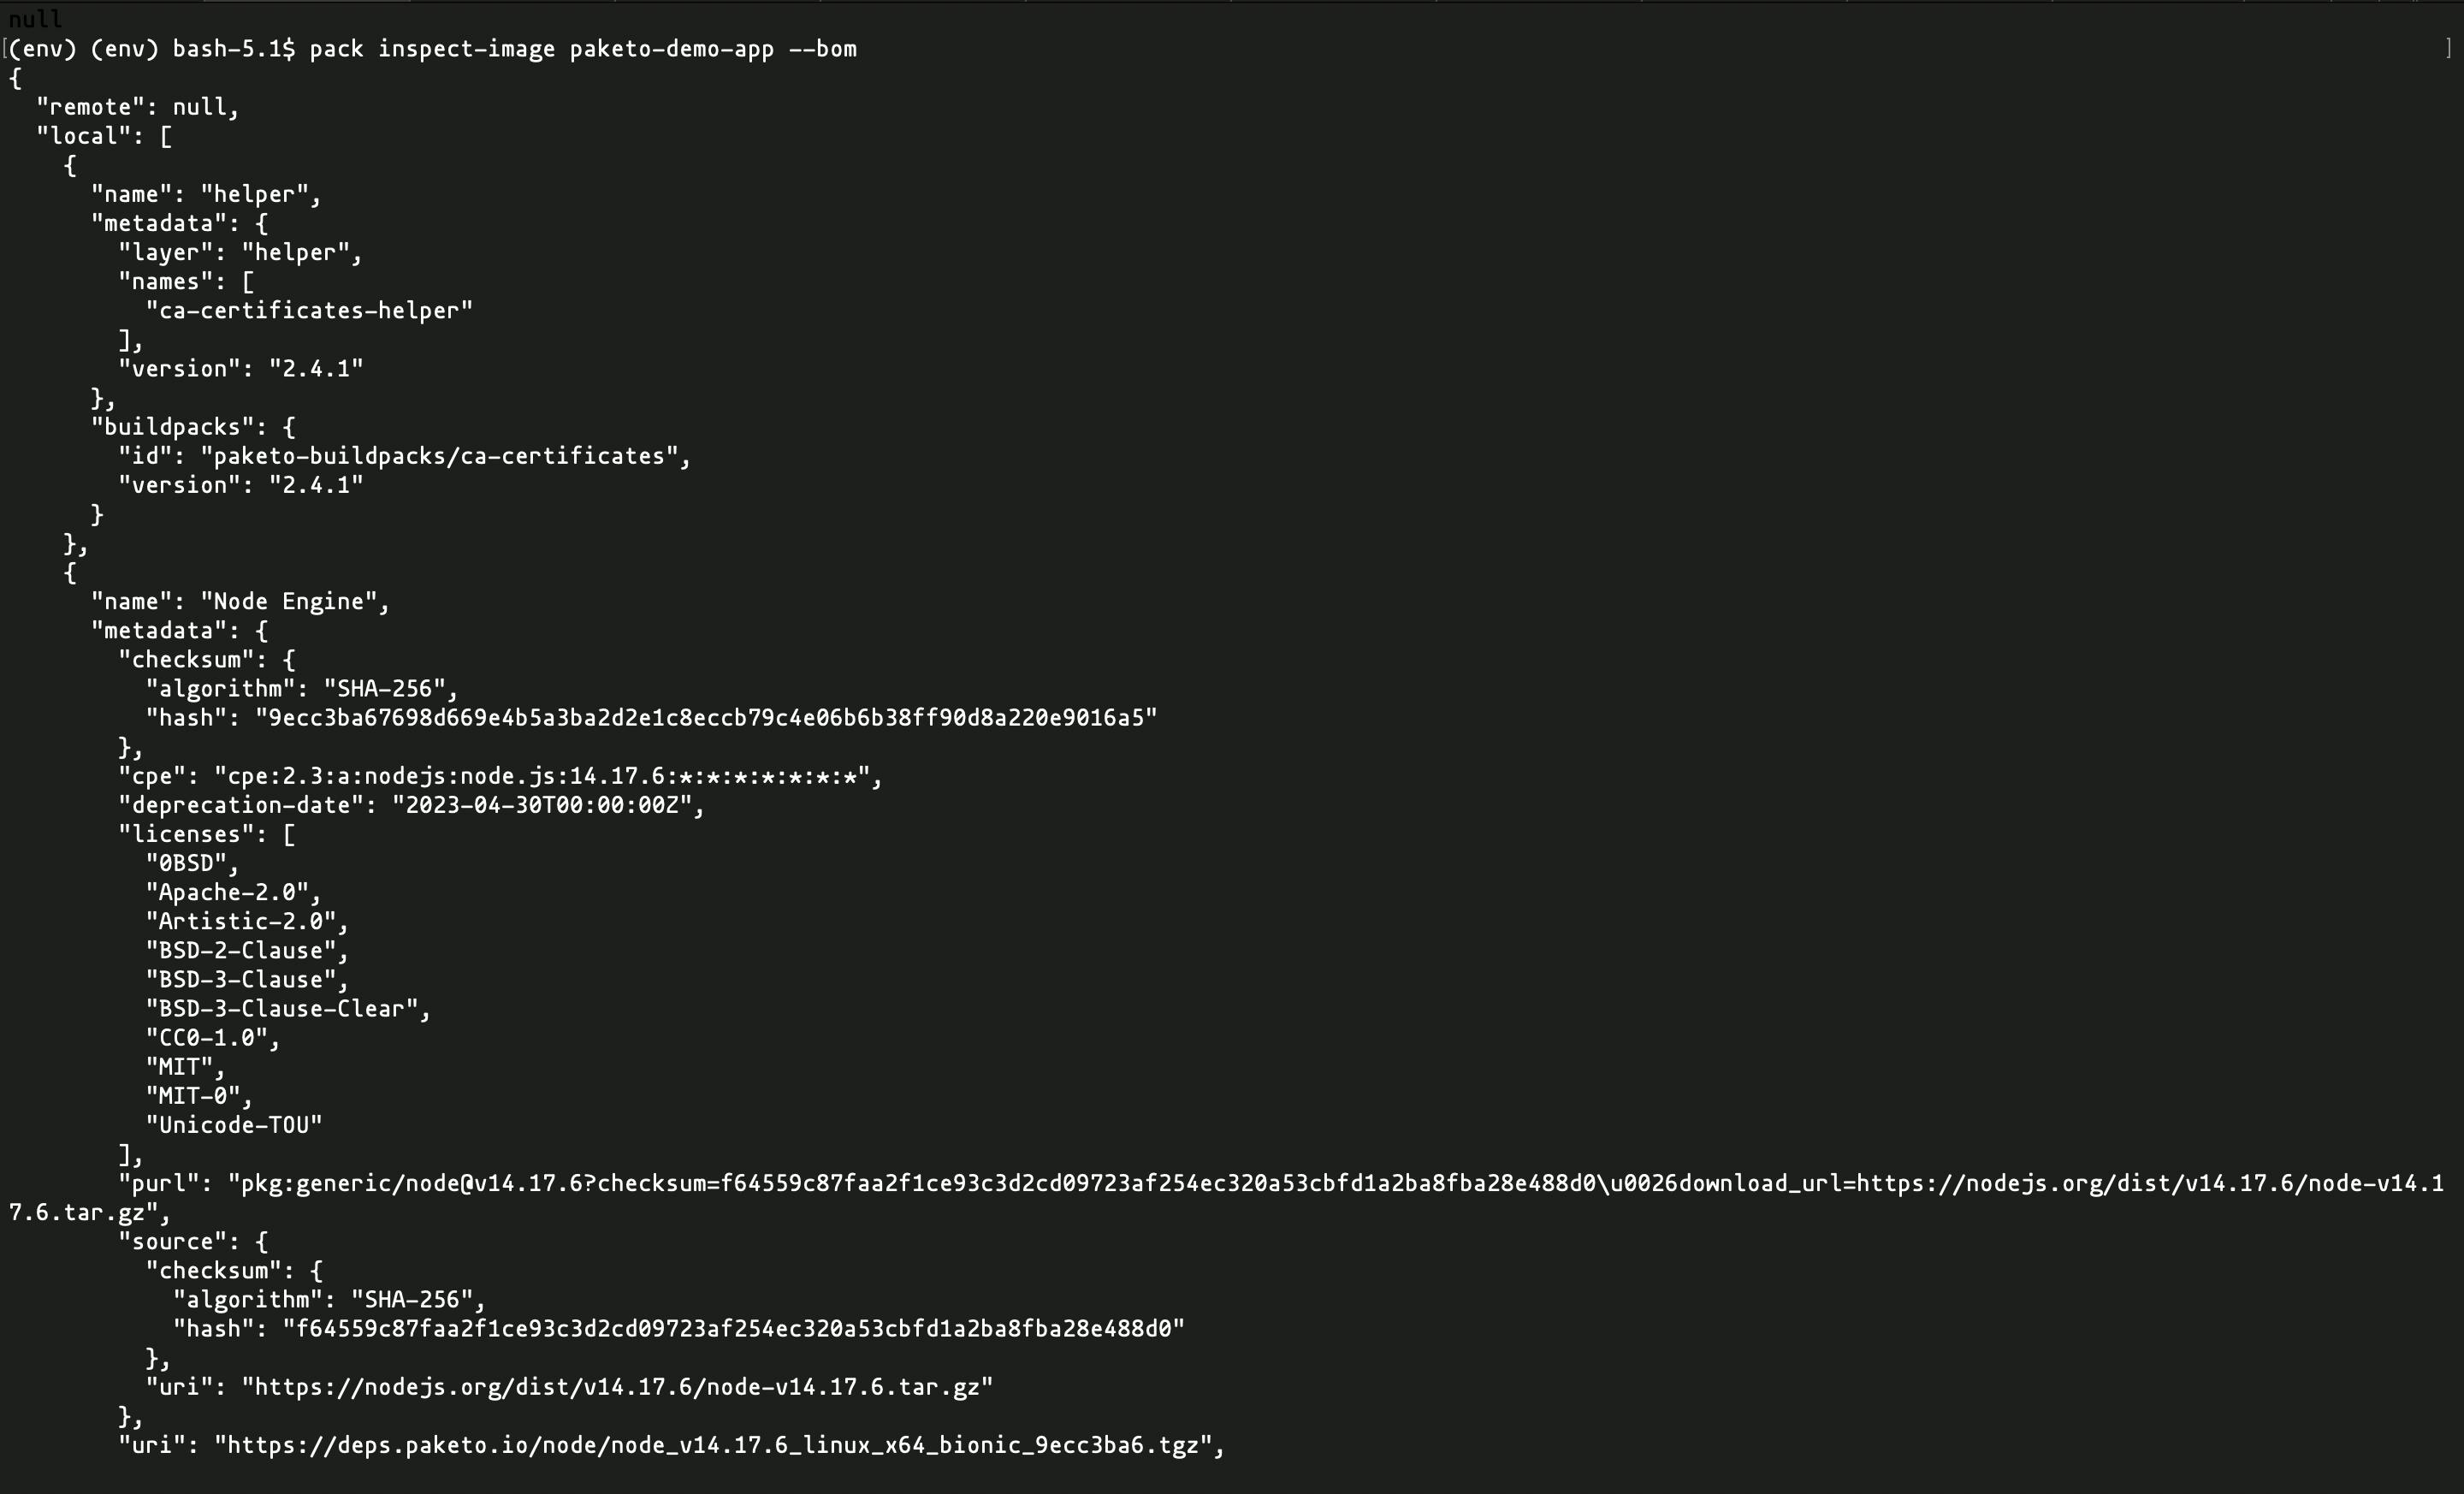
Buildpacks also provide Software Bills of Materials. This feature supplies a list of components in a software application, including version numbers, build identifiers, and other relevant information. It is an industry-standard mechanism for documenting metadata about dependencies in images or applications. The Pack CLI allows you to know what you have running in production as well as gain insights into your applications and their dependencies. Having an SBOM is one of the ways organizations can improve the security of their software supply chain.
To see the Bill of Materials (BOM) for your image, run this command:
pack inspect-image paketo-demo-app --bomHere, paketo-demo-app is the image name, and the --bom flag is used to generate the bill of materials. This command will list all the dependencies and metadata included in the application as well as the SHA for every binary in the build process, attaching that as "evidence." For example, the Paketo BOM for an image might look like this:

#Conclusion
Buidpacks make it easier for development teams to deploy their applications without worrying about configuration. They increase developer productivity and ensure security by constantly checking changes in upstream dependencies and updating them as needed, without much intervention.
In this article, you have learned what Buildpacks are, the various types of builders you can use when developing your application with a Buildpack, generate a Software Bill of Materials for your images and applications and implement a Buildpack using Node.js and Paketo Buildpacks.
Qovery is a platform that allows you to deploy applications using your AWS account. The process is as easy as connecting your cloud account and linking the GitHub account or repository you want to deploy — Qovery handles everything else for you. Its simplicity makes it easy for developers to deploy applications quickly.
Your Favorite DevOps Automation Platform
Qovery is a DevOps Automation Platform Helping 200+ Organizations To Ship Faster and Eliminate DevOps Hiring Needs
Try it out now!

Your Favorite DevOps Automation Platform
Qovery is a DevOps Automation Platform Helping 200+ Organizations To Ship Faster and Eliminate DevOps Hiring Needs
Try it out now!